Although we know that your Sunday ironing is rarely an exciting event, it can be extremely frustrating when it becomes harder work than it needs to be. Regardless of how good your iron may be, you can spend hours standing behind the ironing board trying to iron the same shirt, and it still manages to have creases.
When it comes to ironing a shirt, there are some techniques that you can use to ensure that your shirts are ironed with ease. We have devised a little guide on how to iron a shirt so your ironing pile doesn’t look so daunting!
How To Iron A Shirt: A One Stop Guide
From preparation to iron maintenance, there are lots of things that you may be doing wrong when it comes to ironing a shirt. Unlike other materials and garments, a shirt can be hard to iron due to its unique and tricky corners. Each part of the shirt has to be ironed in a specific way to ensure that you iron out creases rather than put more back in.
Having offered professional dry cleaning in Milton Keynes for many years, we have perfected the art of perfectly ironing shirts and other garments with ease every time. Make your life easier by following this guide to ironing a shirt we’ve put together, and your de-creasing experience will be stress-free. Alternatively, you can always use our ironing and laundry services in Milton Keynes!
- How To Use An Iron
- The Best Way To Iron A Shirt
- How To Get Stubborn Wrinkles Out Of Clothes
- Keeping Your Iron In Good Condition
How To Use An Iron
Before you start picking up clothes from your ironing pile, ensure you have all the necessary equipment and know-how to use it to make your experience as stress-free as possible. The obvious equipment that even a newbie would remember to get out of the cupboard is your ironing board and the iron itself. It would be extremely hard to get those creases out of a shirt without one! First off, we thought we’d list off the basics of how to use an iron:
- Set up your ironing board at a height that will make it easy for you to work on. Make sure that you are near a plug socket so that you can easily reach the board with your iron once it is plugged in.
- Prepare your iron by filling it with distilled or tap water to instructed lines on your iron; for an extra luscious smell, use special ironing solution which will give your garments a beautiful finish and smell.
- Collect all of the shirts that you want to be ironed and unbutton each one completely, including the cuffs. By doing this, you will make it easier for your garments to be ironed properly and minimise the chances of creasing.
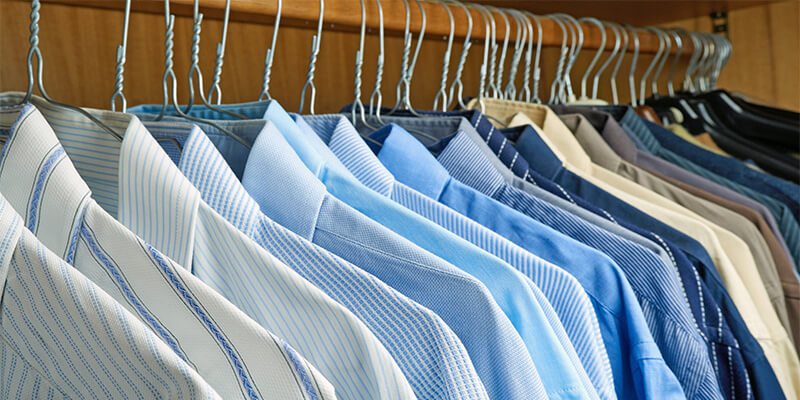
- Grab a load of hangers so that once you have ironed your shirts, you can hang them up without creating creases through folding.
- Consider using a starch spray, which will make it easier to iron out any folds and creases in your shirts, making them look fresh and crisp. If you decide to use a starch spray, make sure to give your shirt a light spray before taking the iron to it.
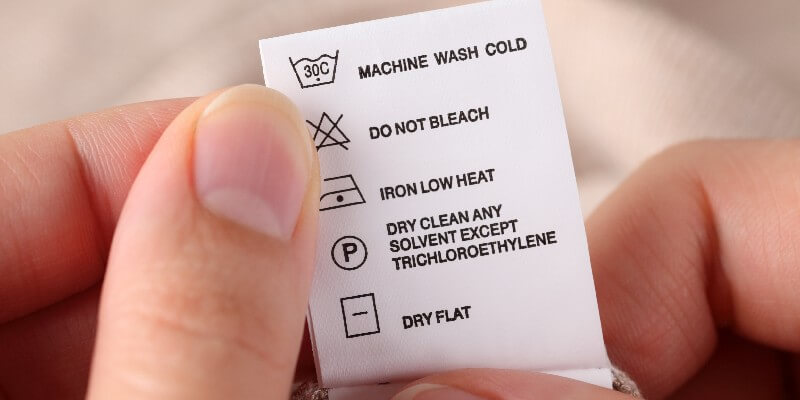
- Take a look at the aftercare label instructions on the shirt. Plug in and turn on your iron before setting the iron temperature to suit your garment; this will ensure that you do not damage your clothing.
- Drape your shirt flatly over the ironing board so that only one layer of fabric is on it. Take care to smooth out any wrinkles.
- Once your iron has had a few seconds to heat up to your selected temperature, run the hot, flat metal face across the section of your garment laid on the board, smoothing any wrinkles.
- When the first section is flat and smooth, adjust the garment so that a new section of fabric is laid on the board and iron that.
- Once you are finished ironing your garment, hang it up immediately and allow it to air dry.
The Best Way To Iron A Shirt
Now that we’ve covered how to use an iron, here is a guide on the best way to iron a shirt, from how to iron a long sleeve button-down to quick tips that’ll help you achieve the best results possible.
How To Iron A Button-Down Shirt
Ironing your formal shirts in a specific way will make sure that they come out with the best results. Getting yourself into a particular routine when it comes to ironing a shirt will help you to make sure that it has a crisp finish with no creases in sight. Follow this order of instructions when ironing your shirt, and there should be no need to use your muscles to tackle those deep creases:
- Start by ironing the collar. Move from one side of the collar and slowly make your way to the other side. If you need to iron your collar but don’t have time to set up the ironing board, a quick trick is to use hair straighteners.
- Next, here’s how to iron a long sleeve button down shirt: lay one sleeve of the shirt across the entire ironing board and open the cuff. This will make it easier to iron down the sleeve and then iron the cuffs as you reach the end of the shirt. Make sure that when ironing the sleeves that you use a straight movement to prevent any folding as you iron.
- Next, move on to the shoulders. We suggest laying this part of the shirt on the narrow point of your ironing board and rotating the iron as you press on the shirt. Following this will make sure that your iron touches every part of the shirt and prevent the likelihood of creases.
- Whatever you do, don’t iron the buttons on the front of the shirt! Turn the shirt over and iron the button band to ensure that any delicate buttons aren’t damaged when ironing.
- Finally, iron the main body of the shirt. Since this is the most prominent area of the garment, it’s important to leave it until last so that it doesn’t get creased while you move the shirt around the board.
- Lay the blouse flat on the ironing board. If it has a collar, start with that, if not, start with the sleeves and shoulders. It’s best to iron a blouse damp and on a low heat, so consider spraying it with water before you start.
- Smooth out the wrinkles in the blouse with your fingers before ironing over a section. Move the iron in a continuous motion to avoid letting it rest on one part of the delicate material for too long, as this could damage it.
- Iron the back of the blouse, moving from the top to the bottom. This is especially important to do to avoid creases if your blouse flares out at the bottom.
- Turn the blouse over and iron the front, avoiding any buttons. Do not iron over any pleats or ruching, as this will flatten them and spoil the design. Instead, use your fingers to hold the fabric surrounding them flat and iron as close to them as you can without creating folds or creases.
- Lay the collar flat on the ironing board and ensure that it is slightly damp before gently ironing it. Next, turn the shirt over and iron the other side of the collar. You can now spray the collar with starch spray before ironing each side again to prevent it from flopping or curling.
- Turn the shirt inside-out and coat it lightly with starch spray before ironing both sides. By turning it inside out, you will protect your polo shirt from the heat of the iron and prevent its colour from fading. The starch spray will make the shirt extra stiff, which is perfect for a more formal look.
- Iron the sleeves first by laying them flat on the board and moving from the shoulder to the cuff. Next, move to the placket and shoulders, before finally ironing the chest, middle and bottom. Avoid going over any seams with the iron, as this could form a crease.
- Iron the back of your polo shirt in the same way that you ironed the front: moving from the top downwards in a continuous motion. Check for any wrinkles once you’re done and smooth them out with the iron.
- Pay attention to the information on the label of your shirt – it’s there for a reason! It will let you know the temperatures at which you can safely wash, dry and iron it without the collar losing its integrity.
- Use a collar stay to prevent your collar from flopping open.
- As we mentioned previously, starch spray can be used on your shirts before you iron them to achieve a super crisp and smooth finish. It works especially well to straighten out bent collars.
- Once you have checked the temperature requirements of all the shirts you plan to iron, try to iron them in order of increasing heat tolerance. This way, you can gradually increase the temperature of the iron without having to wait for it to cool down between garments.
- Turn out the pockets of all shirts before you iron them to avoid ruining any of your belongings that may be lurking in there, as well as creasing your clothing!
- Try turning hems, cuffs and collars inside out when you iron them to avoid puckering.
- This one may seem obvious, but it’s important! Do not let the iron rest directly on the garment, lest the fabric overheat. If you are careless with the iron, you might start a fire!
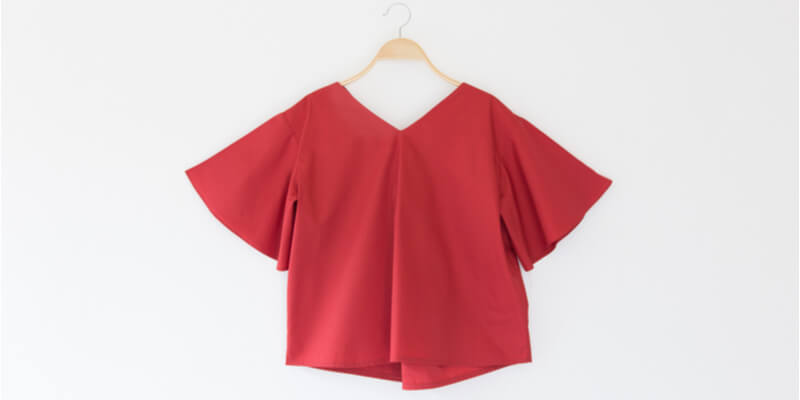
How To Iron A Blouse
Blouses tend to be especially delicate items of clothing, so we would recommend taking special care when ironing them. Follow the steps below for the best results:
How To Iron A Polo Shirt
Polo shirts will require slightly different treatment than your long sleeve button-downs or blouses in order to smooth out any creases and achieve the best results.

How To Iron A Shirt Collar Stiff
If you’re wearing a shirt to a formal event, the last thing you want is for your collar to be crushed or floppy! Thankfully, there are ways that you can stiffen up a creased or flimsy collar and ways that you can prevent it from losing its stiffness in the first place:
Quick Tips For Ironing Shirts
As professional dry cleaners in Milton Keynes, we have many years of experience in ironing garments. Over this time, we have learned many tips and tricks to achieving the best results, which we’d like to share with you:
How To Get Stubborn Wrinkles Out Of Clothes
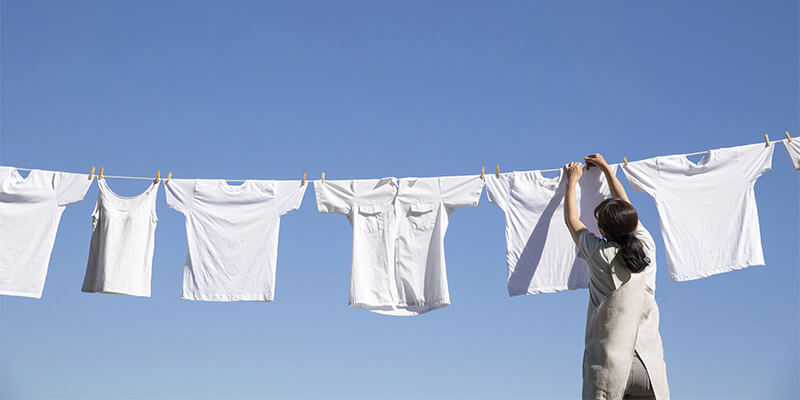
Before you reach the ironing stage, there are some steps that you can take to prevent the likelihood of stubborn creases and make for an easier ironing experience. Once your shirt has gone through the washing machine, make sure that you quickly hang it up to air dry. By doing this, gravity will pull out any creases, and your shirt won’t be left to dry in a creased position. Minimising creases in your shirt before you attempt to iron them will allow you to iron your clothing quickly, making it stress-free. For more information on how to dry your shirt so that it doesn’t come out with more creases than it needs to, speak to one of our specialists at One Stop dry cleaning in Milton Keynes.
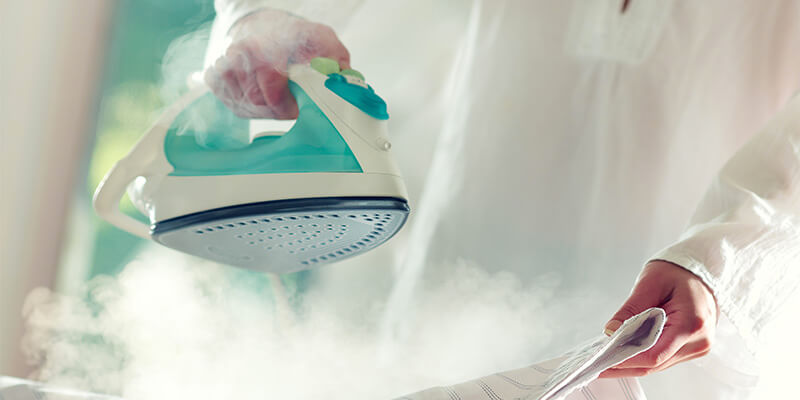
When it comes to ironing your shirt, whether there are small creases or the whole shirt is one big ball of creases, utilising the settings on your iron can make de-creasing your shirt a breeze. If a crease just won’t budge, try using the steam boost on your iron. Place your shirt on a hanger and hang it in a place where you won’t cause an accident or damage your surroundings. Hold your iron up a few inches away from the shirt so the base is pointed towards the shirt. Hold down the steam button on your iron and hover the iron around the shirt, smoothing out the creases as you go. You could also use the water spray feature on your iron before ironing your shirt – as long as the fabric won’t be damaged by water – as this will relax any deep wrinkles within the shirt.
Keeping Your Iron In Good Condition
With ironing out creases already being a tedious task, there’s nothing worse than your iron having a tantrum and spitting out dirty water. Unfortunately, household irons can occasionally drip or spit dirty water instead of steam. This usually happens when the setting on your iron is too low, so the temperature isn’t high enough to produce steam. However, if the temperature on your iron is correct, then the other reason that your iron may spit out water is that you have filled it with the wrong type of water. When buying an iron, make sure that you read the instruction manual to see if you need to fill it with tap water or distilled water.
Another reason that your iron might be spitting out dirty water is that you may be filling the iron too high. Filling your iron with water beyond the maximum line can cause the steam vents to be clogged up, so water cant be passed through the vents and turn into steam. Not cleaning your iron regularly can also cause the vents to clog. So, make sure that you do this regularly to prevent any issues when trying to iron your clothing.
The Easiest Way To Iron Shirts
Don’t be defeated by the shirt and become the master of ironing out creases. Following the same steps every time you iron a shirt will get you into the routine and habit of correctly ironing a shirt. Over time it will become easier to iron shirts as you will know what works best. Make life easier by carrying out maintenance on your iron and buying products that can help you make your shirt smell fresh and look good. If you would rather the professionals take care of things, feel free to bring your creased garments in to One Stop to use our ironing services in Milton Keynes. No crease is too big or stubborn for us to flatten out!